Step 1: Figuring Out How Many Fence Panels Are Needed
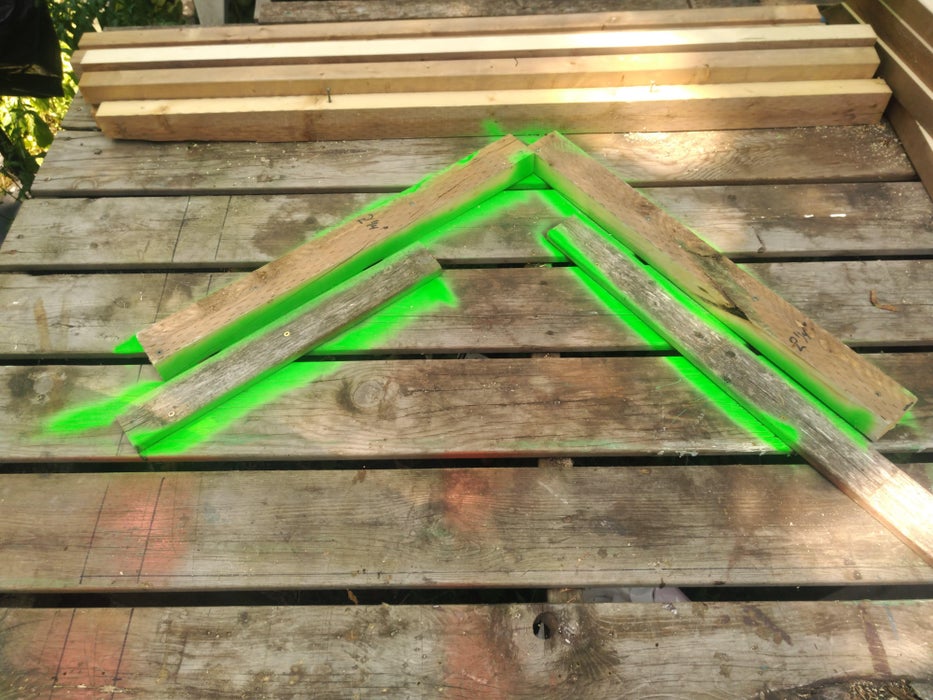
I measured the distance that need to be covered, In my case it was 28 feet and 25 feet.
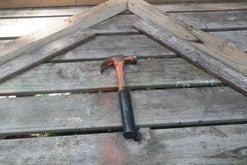
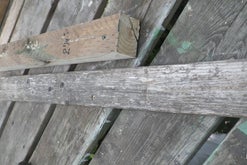
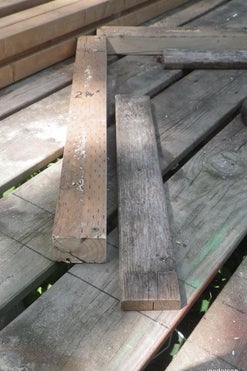
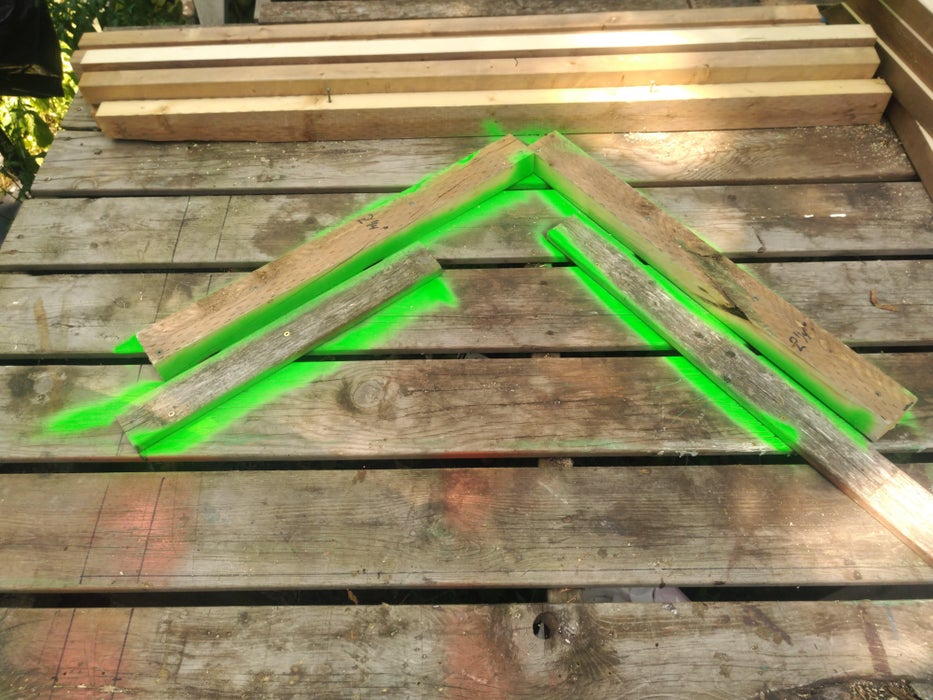
The fence sections are going to be two sides of a right angle triangle, the distance between the two ends, can be figured out using Pythagoras’s theorem which is a² + b² = c², where a and b are the lengths of the legs of the triangle and c is the hypotenuse. So 4 squared + 4 squared = 32, the square root of 32 is 5.65 feet.
I rounded it off using 5 feet 6 inches is the the length of a fence section.
So I needed 53 feet divided by 5.5 feet equals 9.63 sections, rounding up, 10 sections are needed.
Who knew that I would use the algebraic math that I learned in High School decades ago. If you need to, just ask AI to do it for you.
So I ended up getting enough material to build 20 fence panels or 10 fence sections and only used 9 fence sections.
Step 2: Preparation for Fence Panel Making
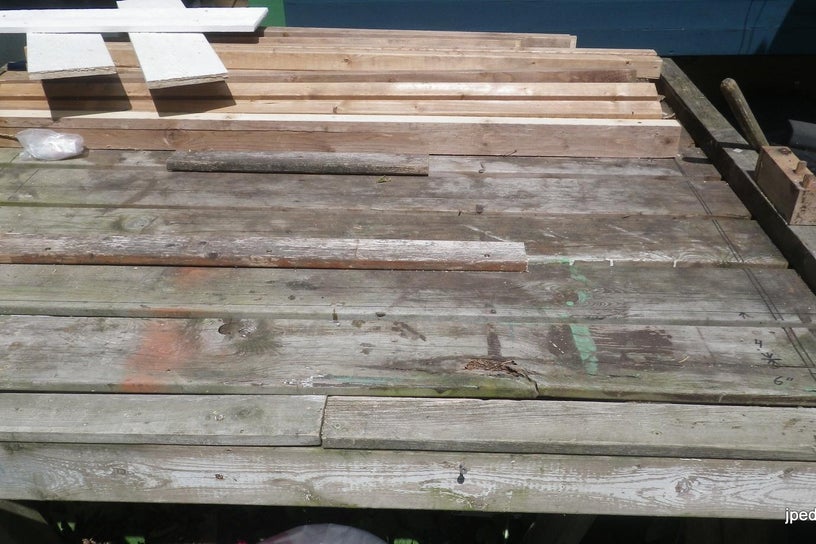
I have a large pallet (4 feet x 5 feet) that sits on two saw horses, this is where I layout and assemble the fence panels.
I laid it out so that the Top and Bottom rails are against the right hand edge of the pallet. There is a board screwed down to line up where the bottom rail goes, and another board screwed down to line up the top rail. Just above the top rail is another board that is where the top of the pickets align.
This is usually called a template or pattern board.
Step 3: Fence Panel Assembly
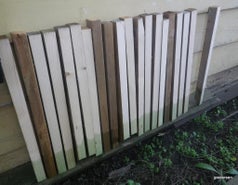
Before assembling the fence panels, each LP Elements Flat Top Pickets has to be cut into 3 two foot sections.
Begin by aligning the Top and Bottom rails against the screwed down boards, using a 2 1/4 ” spacer from the edge, figure out where you want to place the first picket. Mark and drill two pilot holes for the Top and Bottom rails. Do not screw this down yet. Take this picket, mark the the top edge with a pencil and then clamp this board to three other pickets and drill the pilot holes so that the boards will look uniform. Save this board for future hole alignment of the rest of the pickets.
Take one the pickets with the pilot holes and place by the 2 1/4″ spacer board that is on the Top and Bottom rails. Fasten to the rails with 1 1/2″ wood screws.
Place a 2 1/4 inch spacer beside the picket the you just screwed to the rails, place a different colour picket with its pilot holes beside this spacer then screw it down to the rails.
Repeat until you have six pickets fasten to the the rails, you should have 2 1/4″ spacing at each end and between each picket. Congratulations you have your first fence panel made, only 39 more to go.
Put newly assembled panel aside and make another one using the same method.
Step 4: Preparation for Joining Two Fence Panels Together.
I made a different Template Board to join the two fence panels together.
Step 5: Joining Fence Panels Together
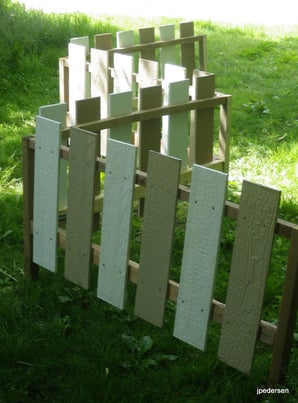
After creating the template (holder) for the fence panels, I inserted the two fence panels upside down into it. The pickets slide into the slot of the template board.
I attached one fence post to the fence panel using 3 inch wood screws, 3 for the bottom rail and 2 for the top rail, pilot holes were drilled first. The fence posts keep the bottom of the fence rails about 4 inches above the ground. The manufacturer LP Elements, recommends a minimum 2 inches above the ground.
The second fence panel was then lined up with the fence post of the first and attached with 3 screws for the bottom rail and 2 for the top rail.
On the inside of the fence section on the bottom rail, I attached a 12 inch by 14 inch shelf bracket using 1.5 inch screws..
Attach another fence post to the other end of ONE of the fence panels. If this is going to be an end of fence section, attach a fence post to the other fence panel.
Step 6: Finishing Touches
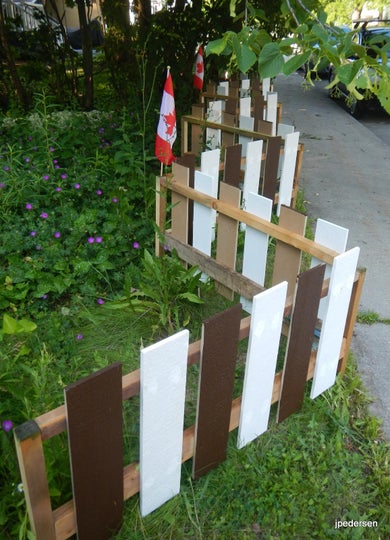
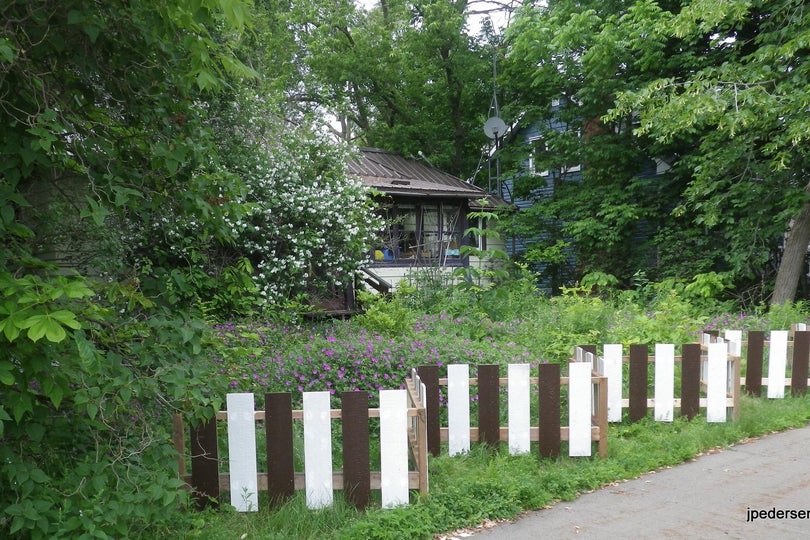
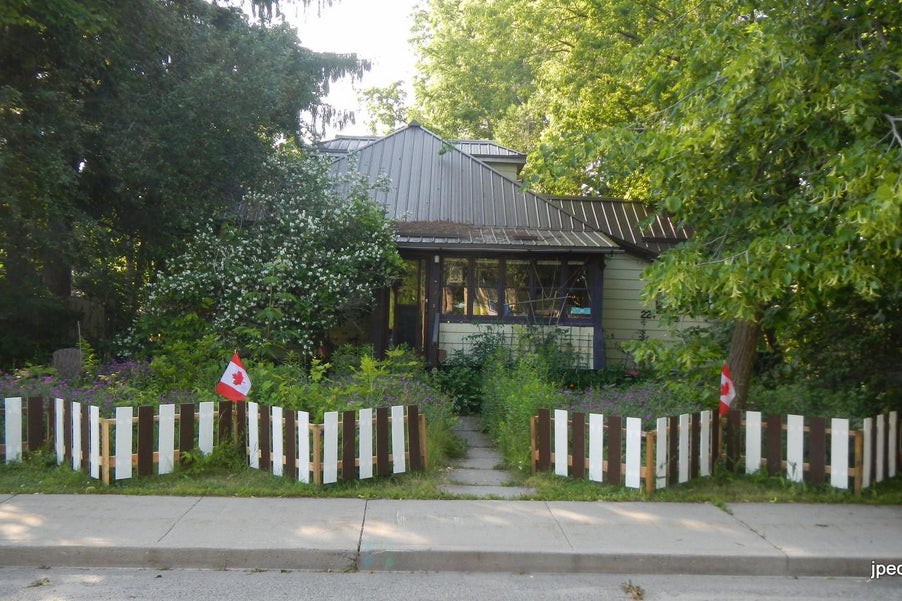
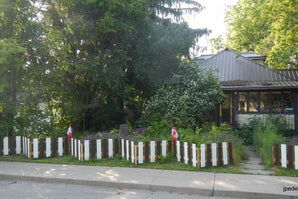
The tan coloured panels didn’t look quite right, my wife suggested I paint them the same colour as the trim of our house. It just worked out that I had some trim paint left and that is now why we have a dark brown and white picket fence. I’m quite pleased with the way the fence looks now.
Step 7: Additional Uses
This is an ideal fence, if you have something that temporary needs to blocked off or permanent use such as I have done. It is easy to make, no post holes are needed to be dug.
Since a Fence Section form one half of a square, it would be easy enough to put two sections together to make a pen for small animals, the fence panels should face inward, not for cats though, the fence would have to be about 30 feet high minimum, and the would be tricky to build and put together.
Step 8: Just in Case You’re Wondering
The reason I used the LP Elements name and label was to show the specific product that I used. I received no benefit from them or endorse their product. I just know a good deal on lumber when I see one, that’s the only reason it was purchased.
Some people may have notice that I switch often from feet & inches to feet and a fraction (example 5.6 feet). That’s just the way I do things.
