101 Guide to House Framing

Last updated August 12, 2024
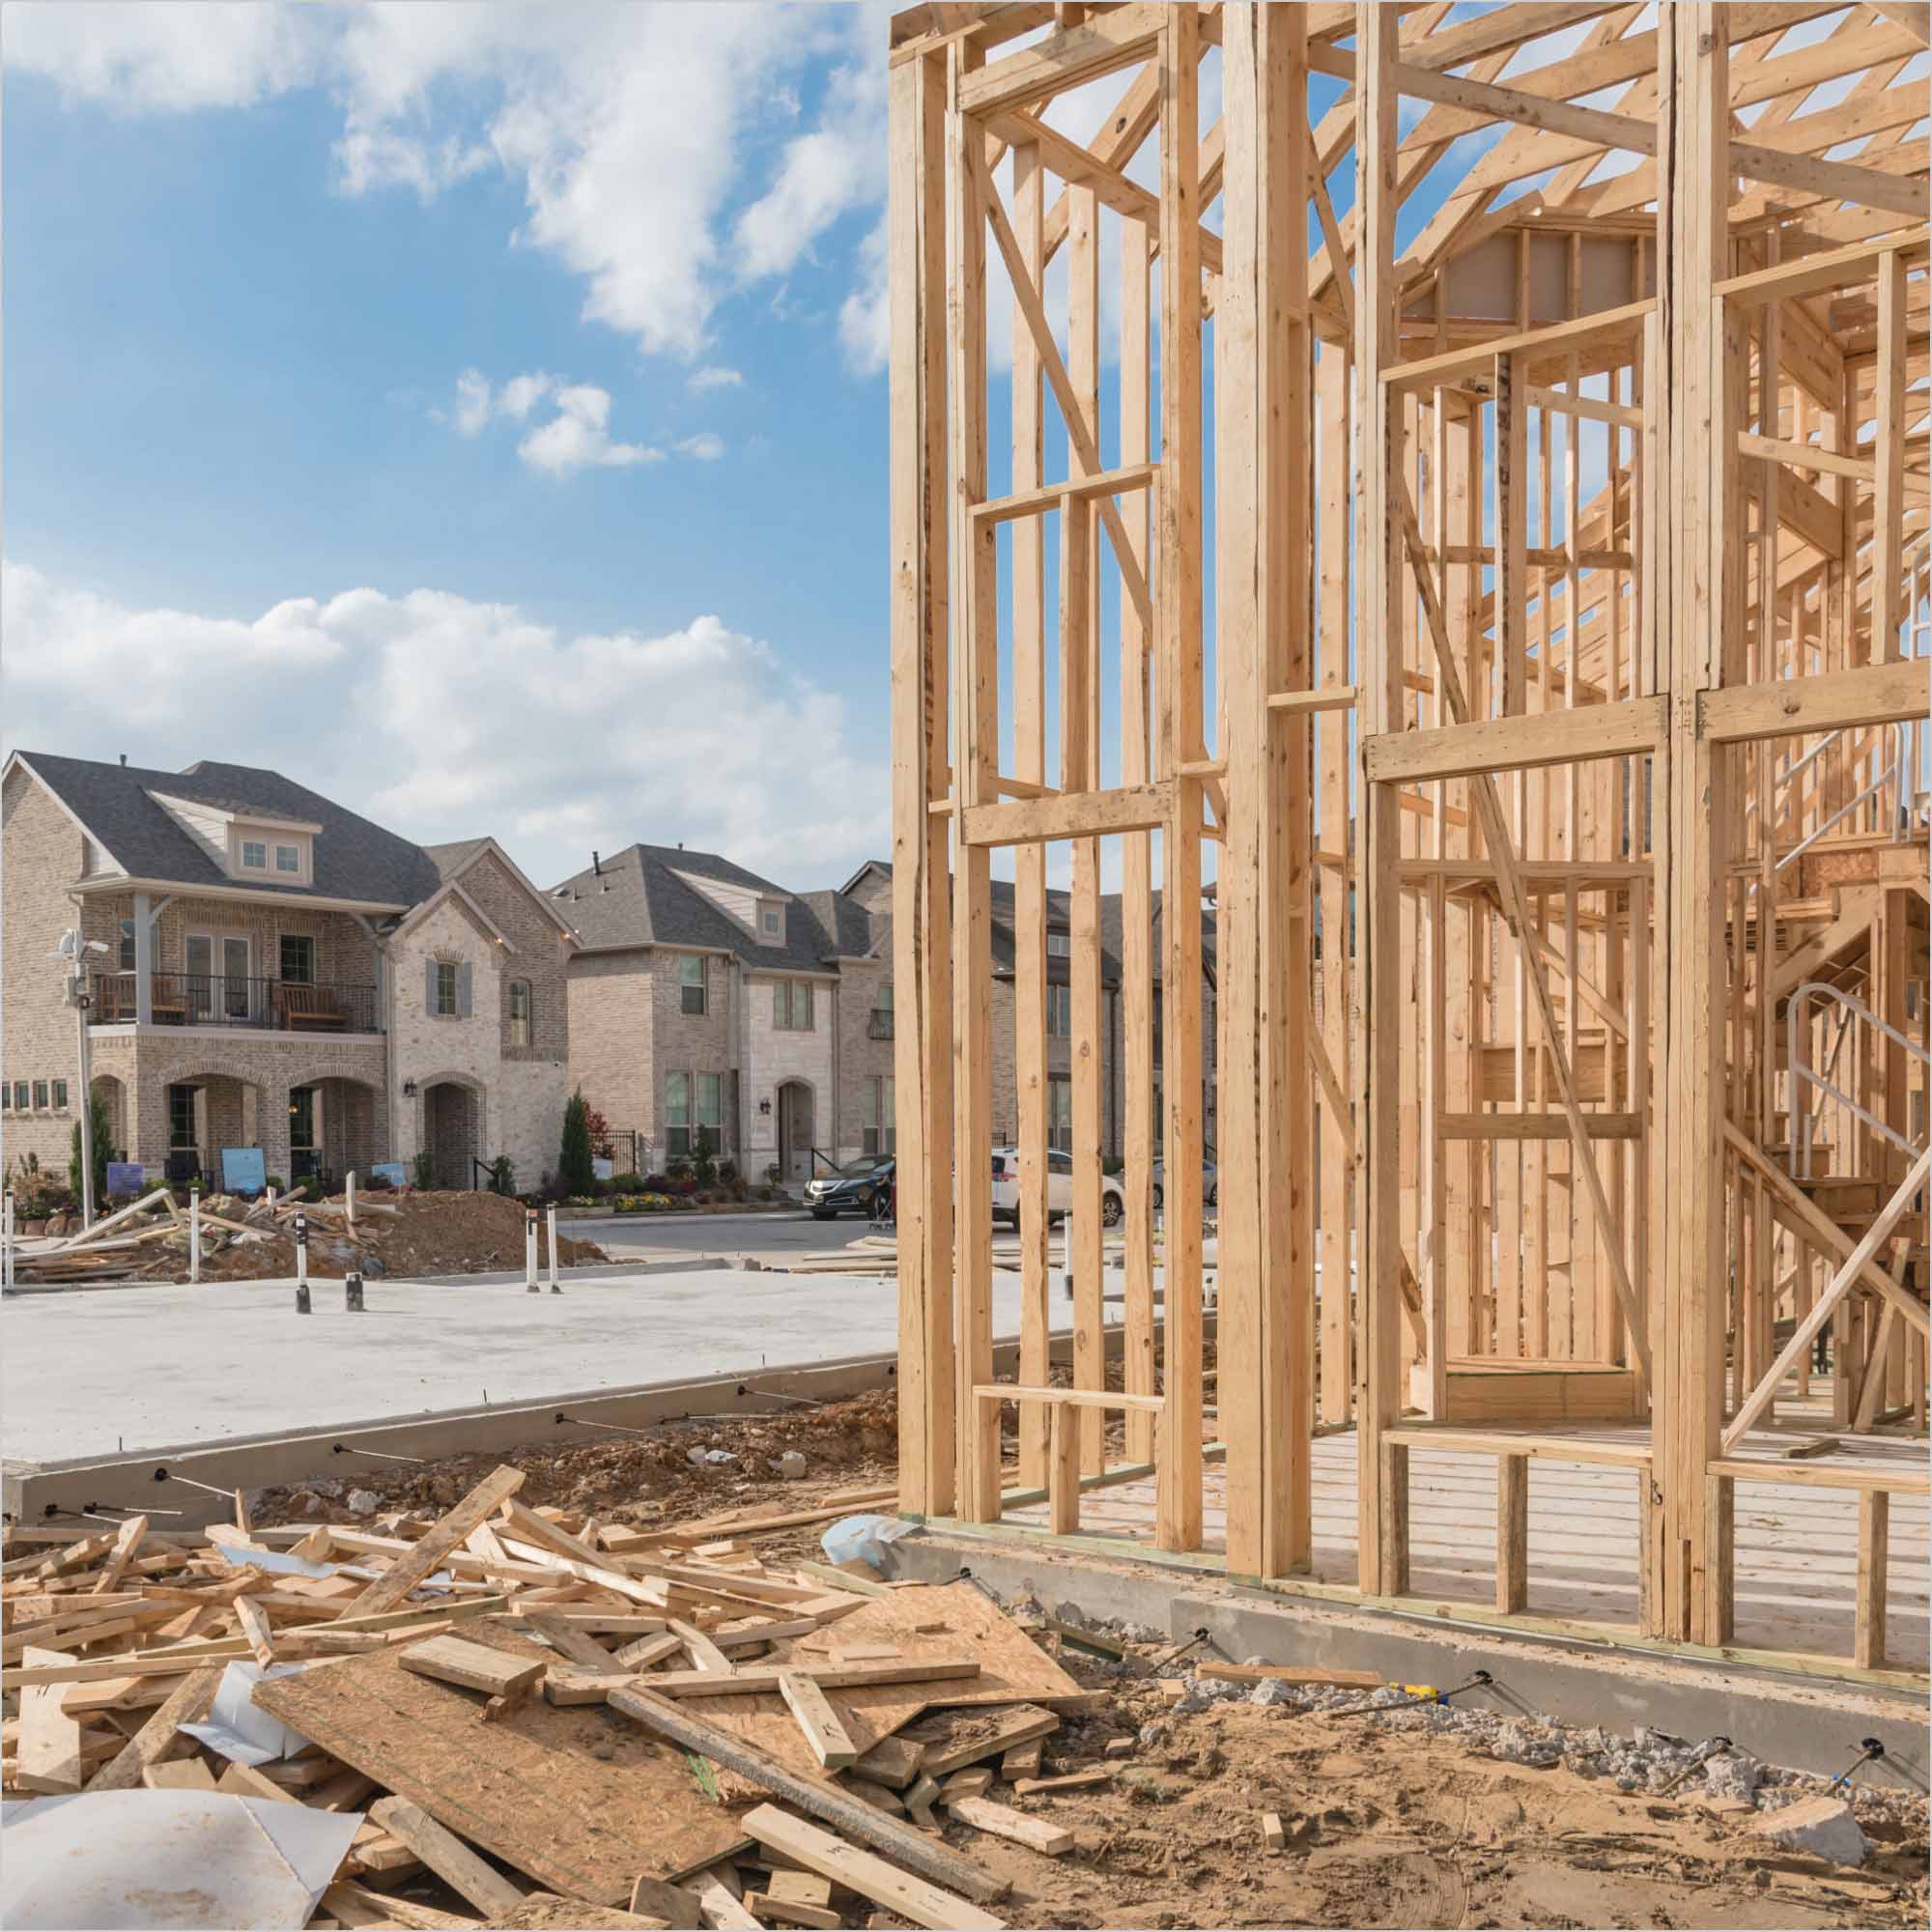
From the subfloor to the roof rafters, house framing provides a home with crucial support. A sturdy frame ensures that the house will withstand weather, require fewer repairs and provide better resale value.
This guide reviews the basics of how to frame a house as well as the types of residential framing and the costs.
SHOP FRAMING LUMBER NOW
Difficulty:
Advanced
Duration:
Over 1 day
How to Frame the Floor of a House

Residential framing begins with the floor. Do not frame the flooring until the house’s concrete foundation has set.
- Begin by checking local building codes and pulling any necessary permits for residential framing.
- Measure the desired location of the floor and snap layout lines to ensure the sill plates will be square with the foundation.
- Fasten sill plates of dimensional boards with anchor bolts. Use water resistant, pressure treated lumber for any plates that contact concrete.
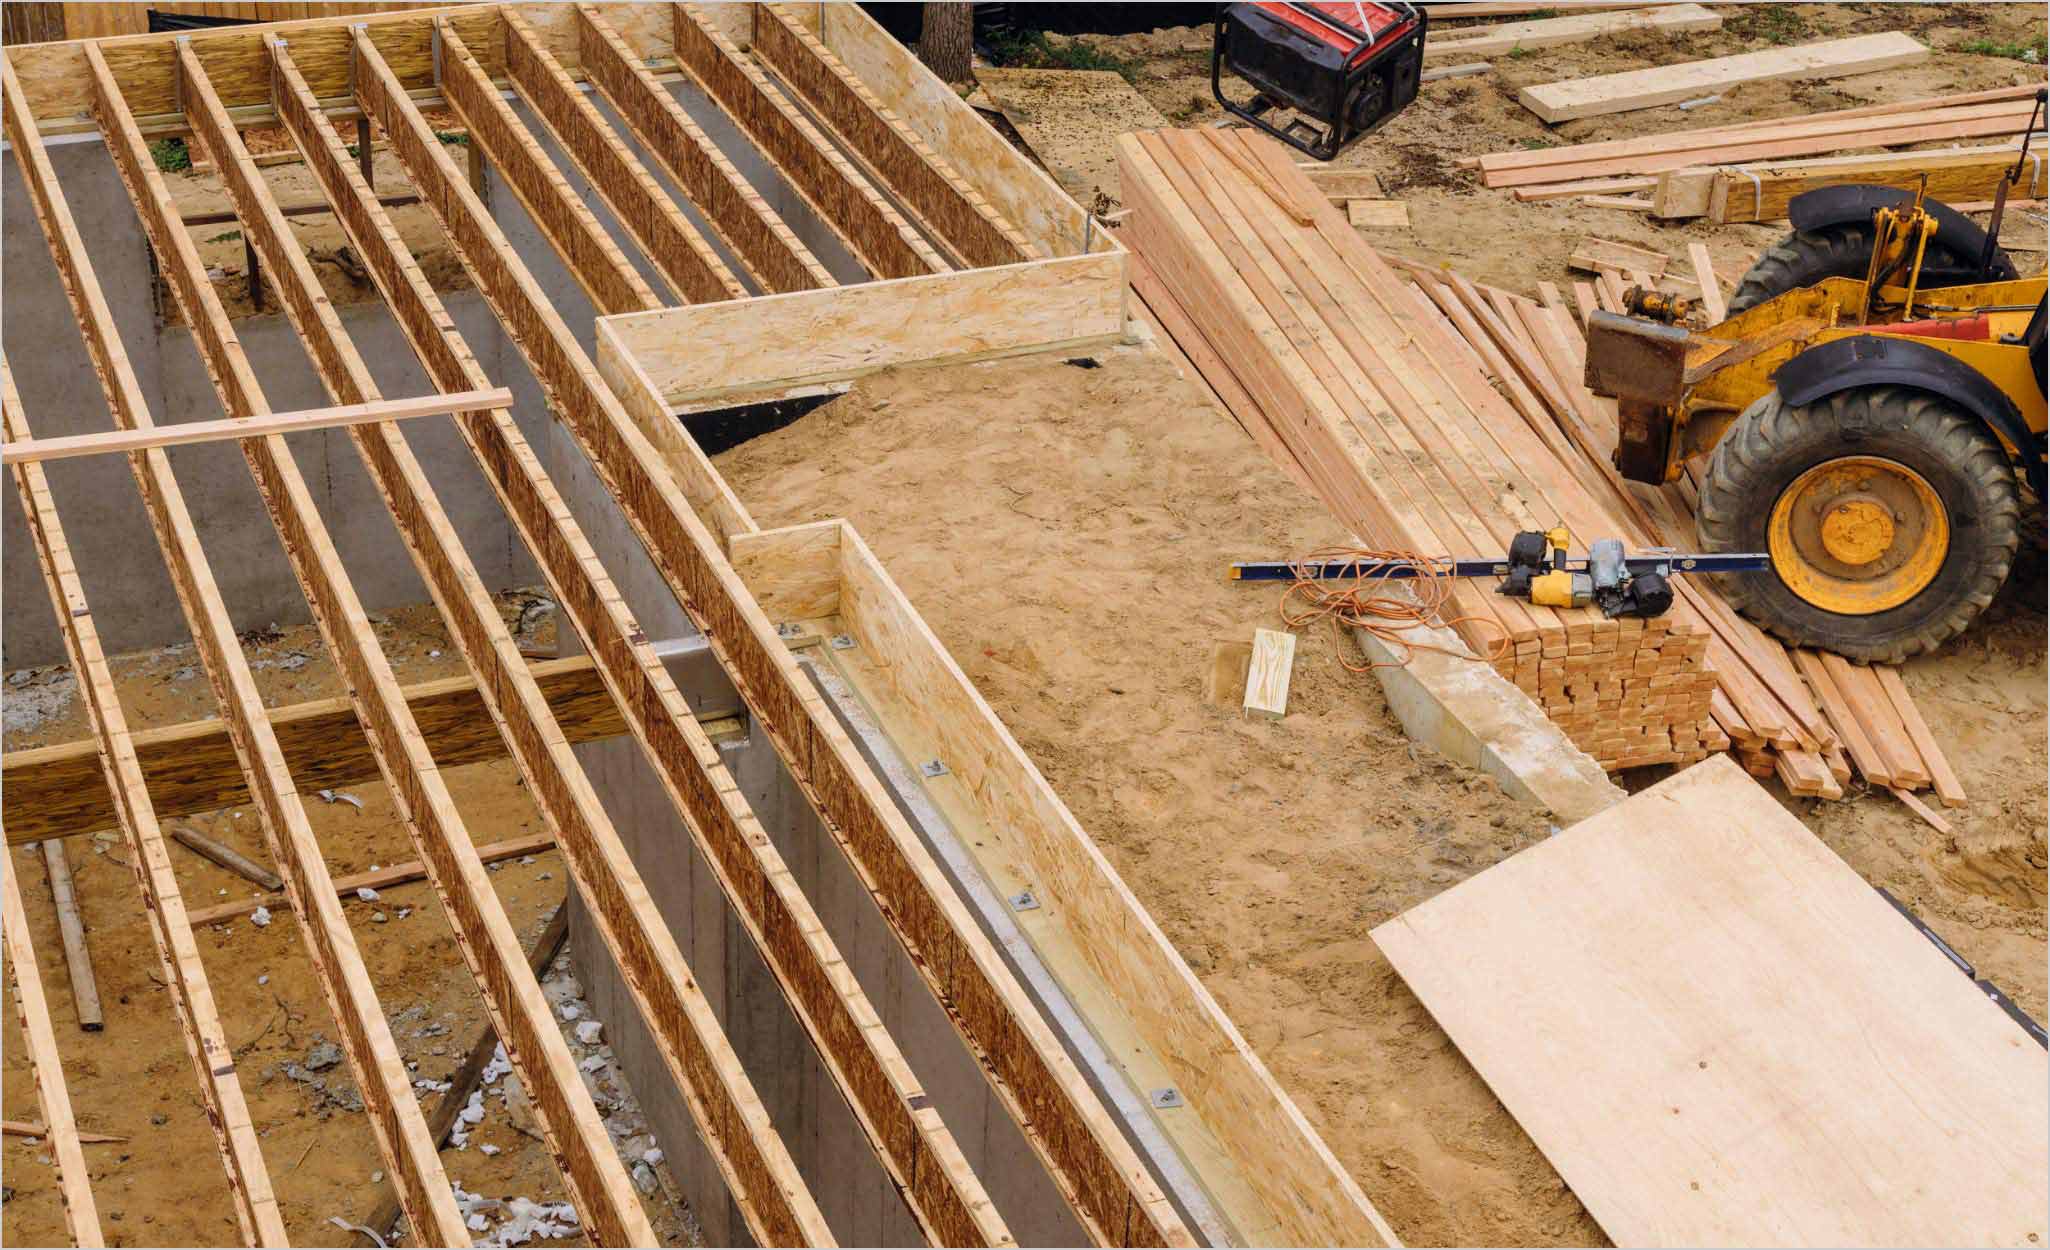
- Measure the floor joists 16 inches apart.
- Attach the rim joists on end to the sill plates.
- Nail the floor joists perpendicular to the rim joists.
- Cover the joists with the subfloor, usually sheets of 3/4-in. or 5/8-in. plywood or OSB (oriented strand board). Attach the sheets to the joists with wood screws.
Pro Tip: When attaching the subfloor, apply wood glue between the plywood panels and joists to prevent the floor from squeaking. This is nicknamed the “glue and screw” method.
How to Frame Exterior Walls

The next step in residential framing is building and raising the walls.
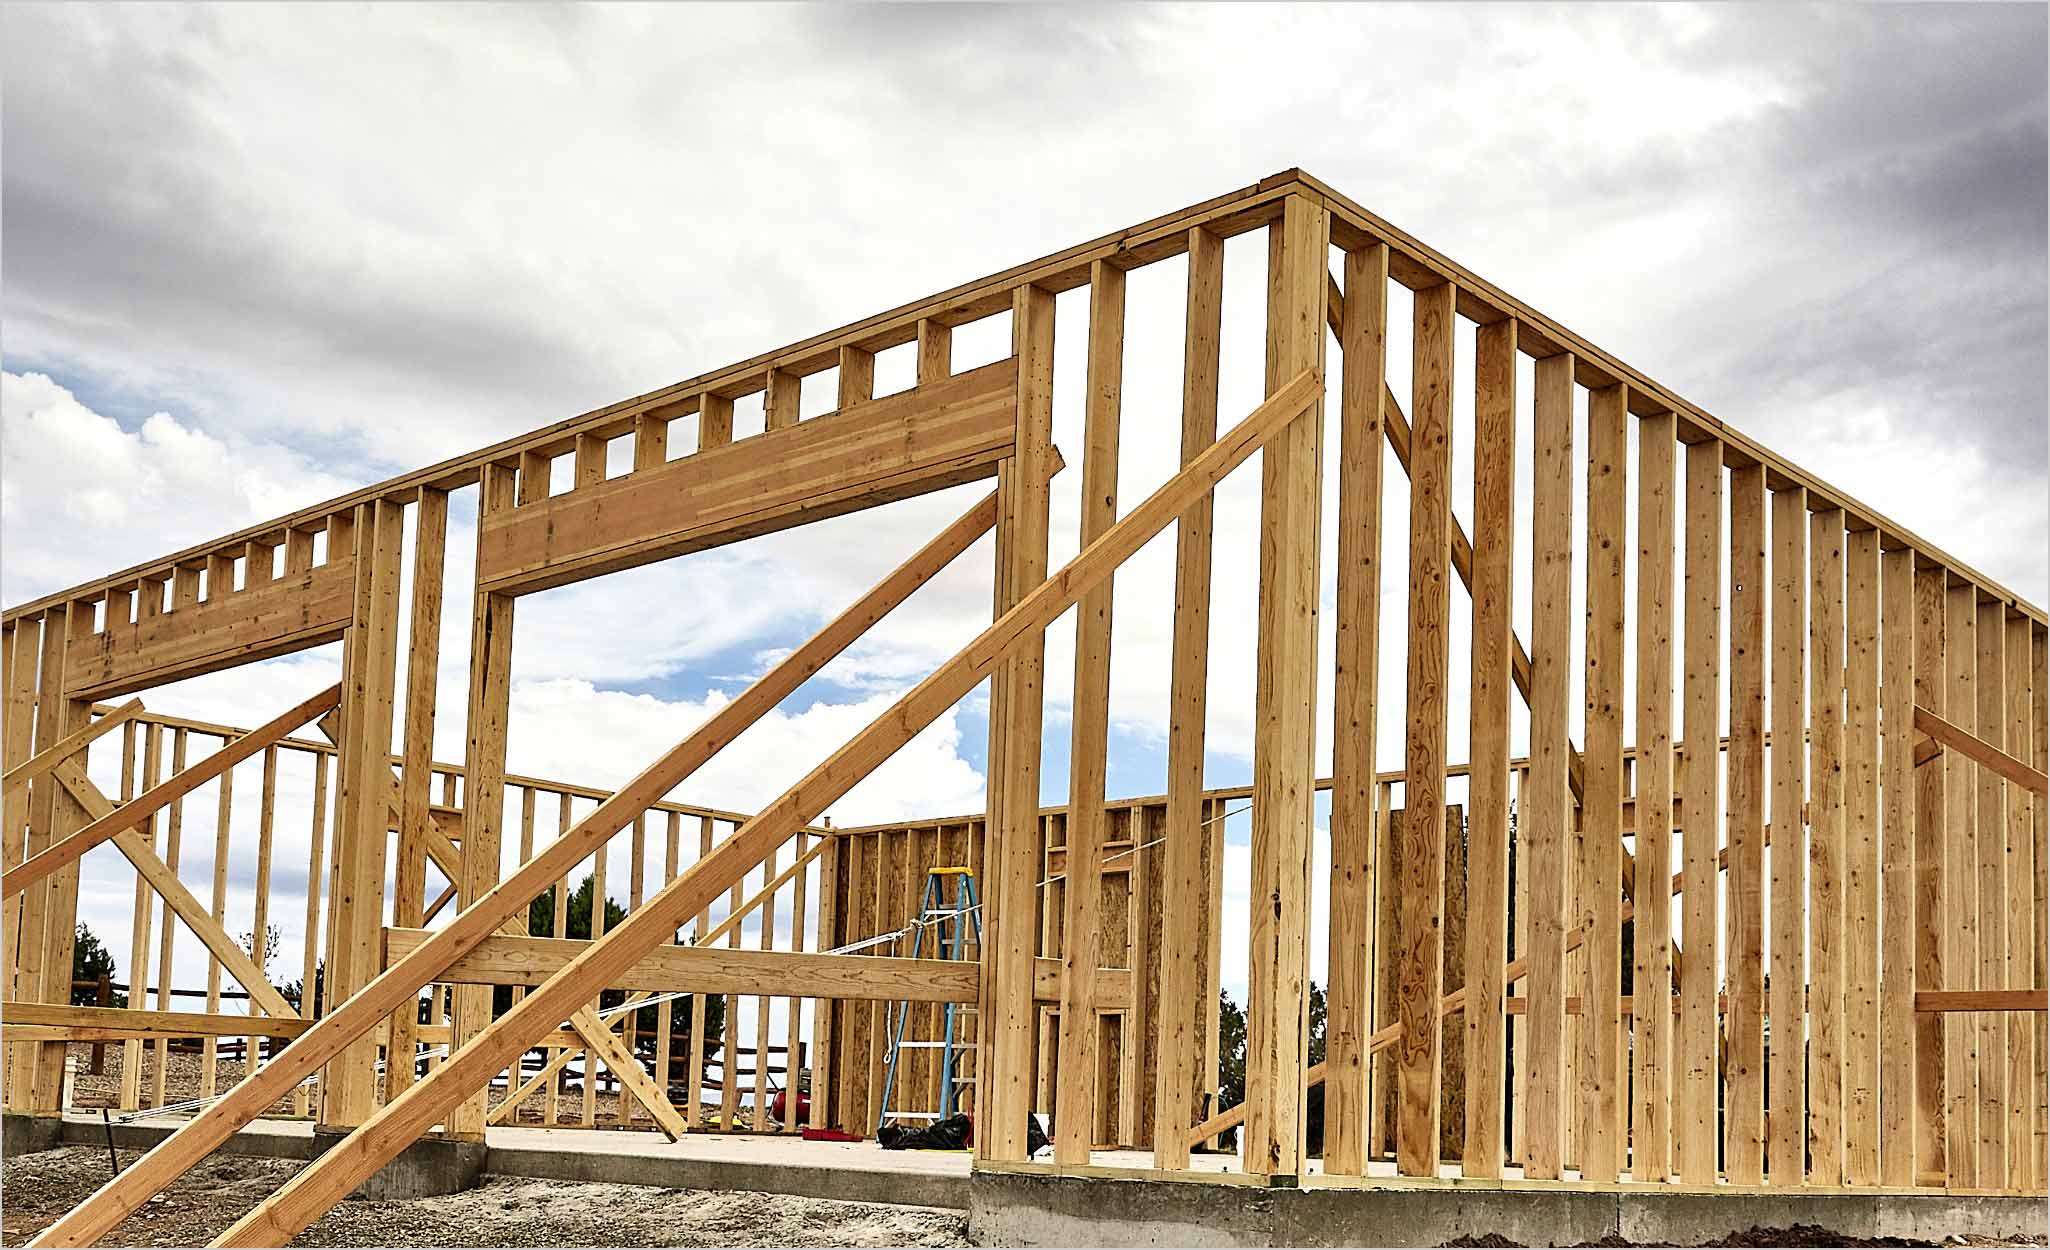
- Exterior walls are usually constructed as a single piece and framed with 2- x 4-inch or 2- x 6-inch boards, then raised into place. Long walls are sometimes constructed in sections.
- Measure the dimensions of the wall. You may want to draw a chalk outline of the wall directly onto the subfloor to help with placement. Use the house plan to determine the location of all doors and windows.
- Lay out the wall’s top plates and bottom plates.
- Measure and mark for the studs at 16-inch intervals. Cut and lay out the studs.
- Use a nail gun to fasten the end studs to the plates with framing nails.
- Attach the remaining studs, adding doors or windows as needed.
- Attach the corner post studs at the edges. Every wall will have corner posts.
- Decide whether you want to nail the plywood or OSB sheathing to the studs before raising the wall. Many builders attach the sheathing after framing the walls and the roof. It’s easier to attach the sheathing when the wall is on the ground, but this makes the wall heavier and more difficult to lift into place.
- Get assistance and raise the wall into place. Install temporary support bracing to hold up the wall and leave all bracing in place until all the walls are raised.
- Toenail the bottom plate of the wall at each end of the sill plate. Then drive nails along the length of the bottom plate to finish attaching the wall to the sill plate.
- Repeat with the other exterior walls followed by the interior walls.
- With the walls in place, add a second top plate to hold them together. Use a nail gun to attach the second plate with framing nails.
- If the house has a second floor, repeat the steps for installing the floor and the walls.
Pro Tip: Make sure the lumber you choose for the studs is as straight as possible. Straight studs are easier to assemble and ensure a stronger, better-fitting frame.
