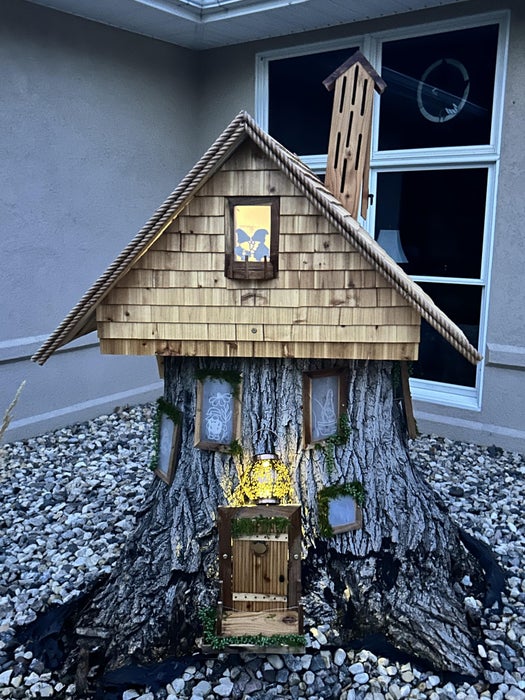
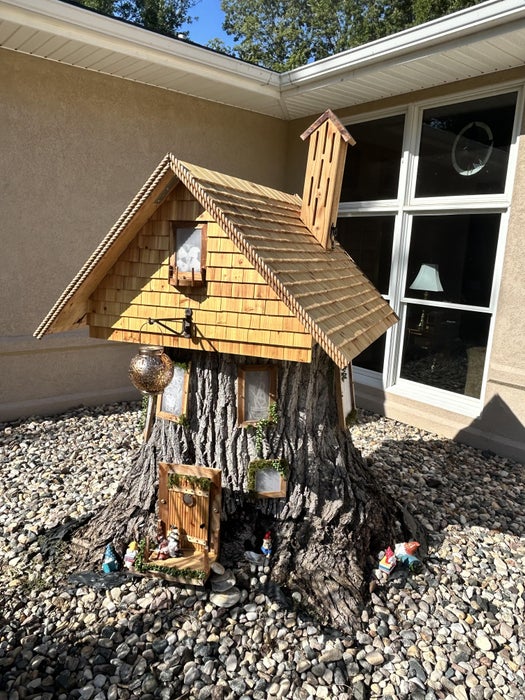
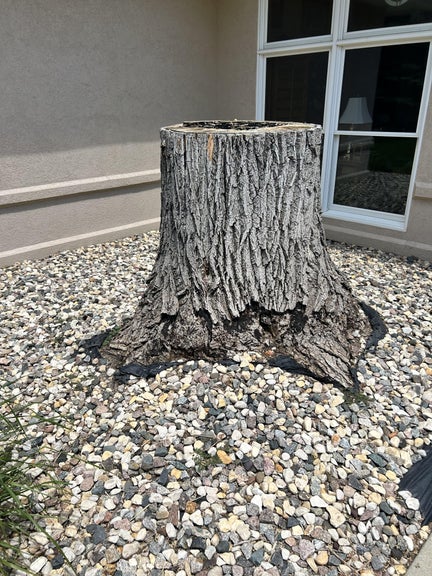
A friend asked for help with a project for an old Cottonwood stump by her front door. This Gnome Home is what I came up with.
Supplies
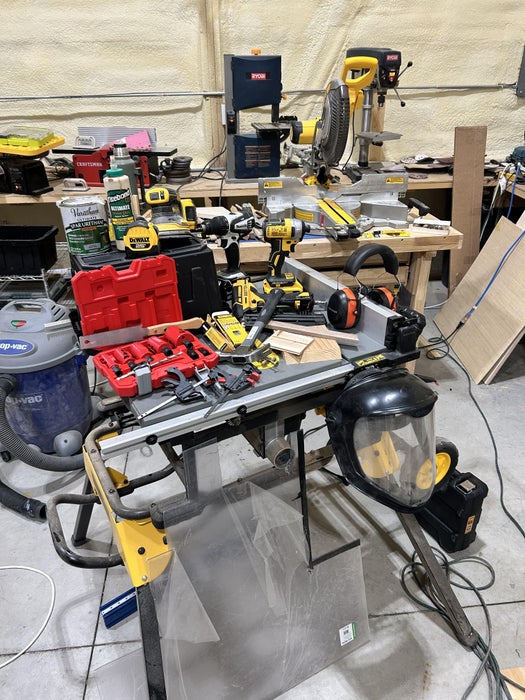
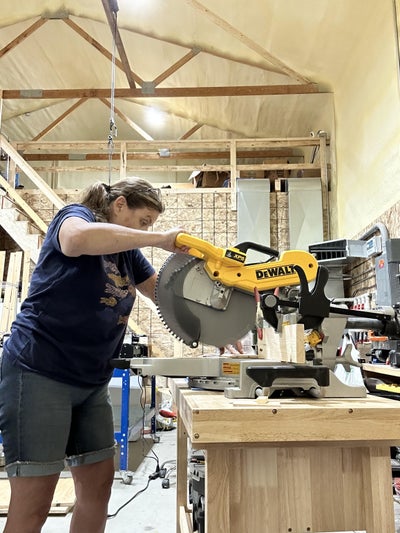
Do not be intimidated by this pic! I used nearly every power and hand tool I owned, simply because I could. This can be made w/o all of that. Just adapt to the tools you have. For instance, I used a miter saw to cut shingles and door/window frames. No need to run out and buy a miter saw. A table, circular or any number of saws can be used to make those cuts. Also, some power tools can be rented.
Miter saw, jig saw, table saw, jointer, planer, 18 gauge brad nailer, orbital sander, bench sander, drill pre, band saw, tape measure, drill, impact driver, Japanese hand saw,
Step 1: Know Your Stump
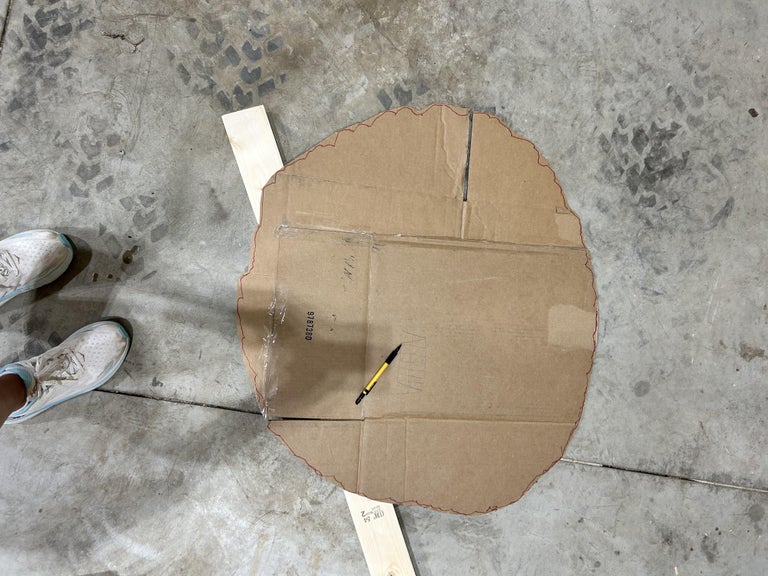
Measure the height and width of the stump. I also placed a piece of cardboard on top of the stump and used a sharpie from underneath to trace the outline. I took that back to my shop to use as a reference throughout the build. This stump was 4’ h X 3’ w.
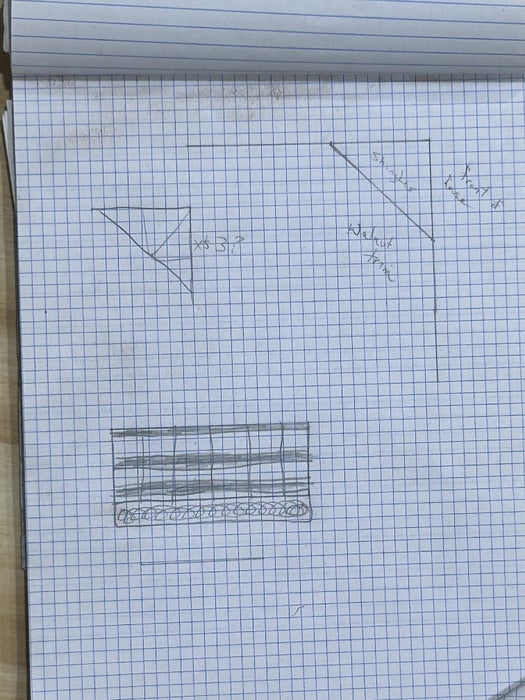
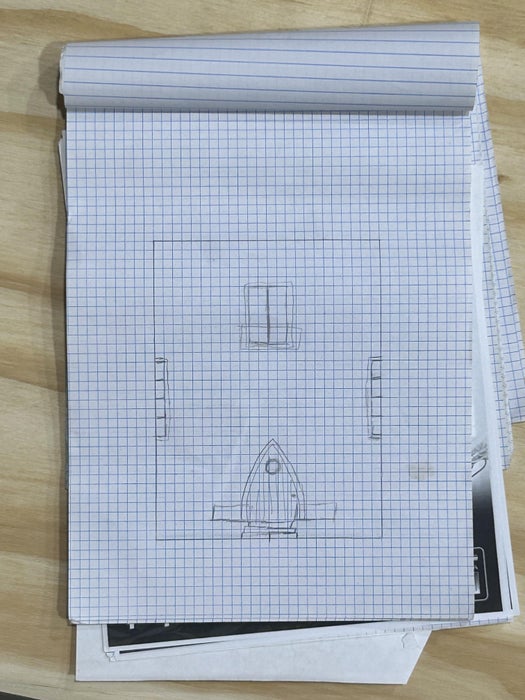
Step 2: Design Your Gnome Home
No need to be fancy, just a quick drawing to help organize ideas. Have fun and make it your own!
Step 3: Build the Roof Structure
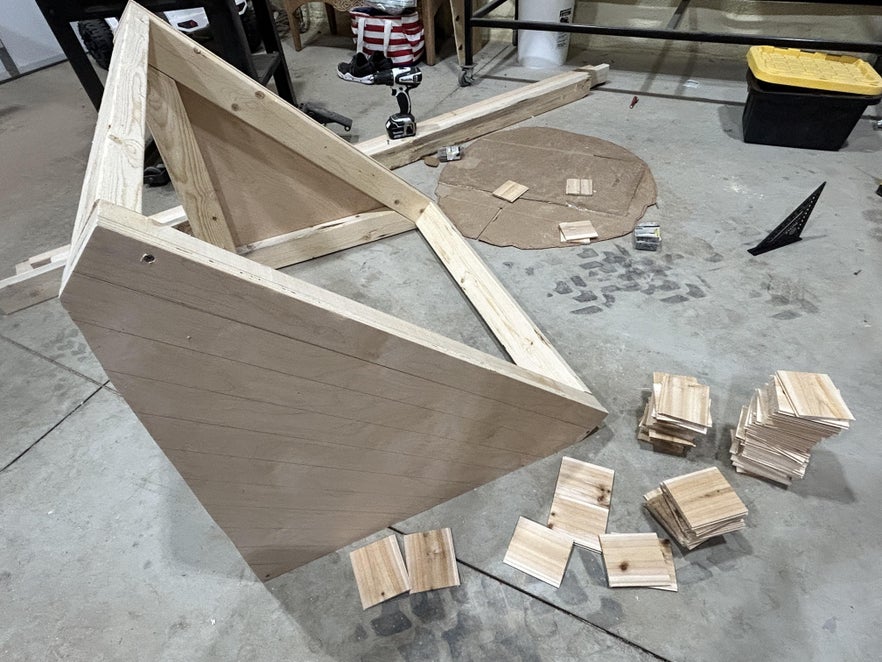
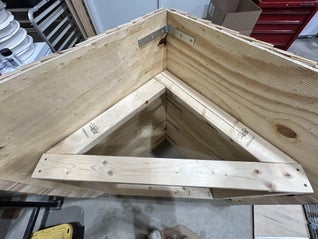
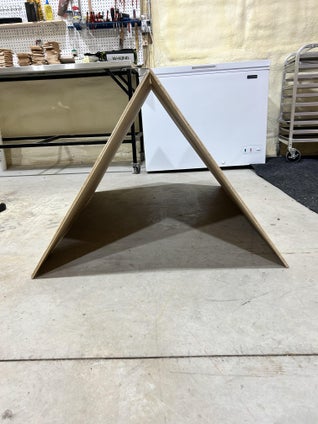
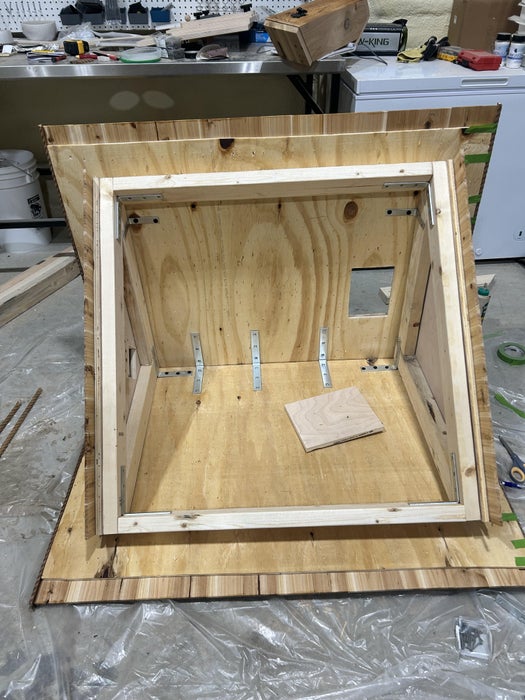
I cut a 4×8 sheet of plywood in half. Used 5 corner angle brackets spaced evenly to secure the two pieces together in a 90 degree angle. I then used 2×4’s cut to size to build a frame to provide stability, strength and a mounting surface. The frame gable ends were covered in plywood as well.
Step 4: What I Should Have Done Next! 😁
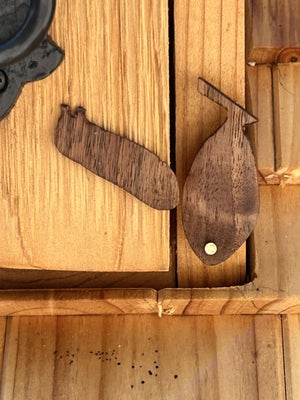
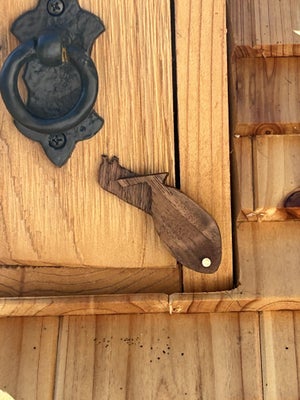
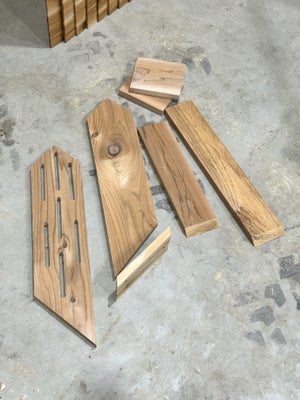
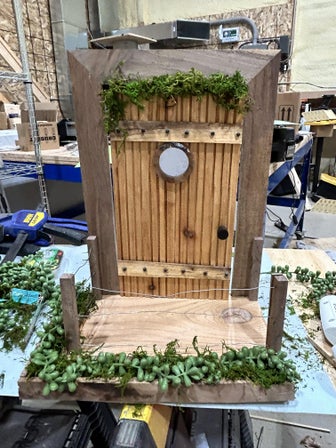
Build the butterfly house! I wanted a chimney that doubled as…. Something. I finally decided on a butterfly house. The door is on the right hand side and a turn of the chrysalis reveals a caterpillar latch. I used my Cricut machine to cut the shapes out of thicker paper for a template, then transferred that to a piece of walnut. The grandkids can come and put bark or branches in for the butterflies and learn about the importance of pollinators.
Step 5: What I Actually Did Next 🤦♀️😂
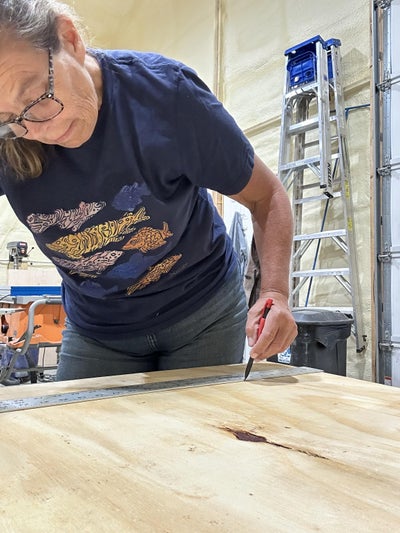
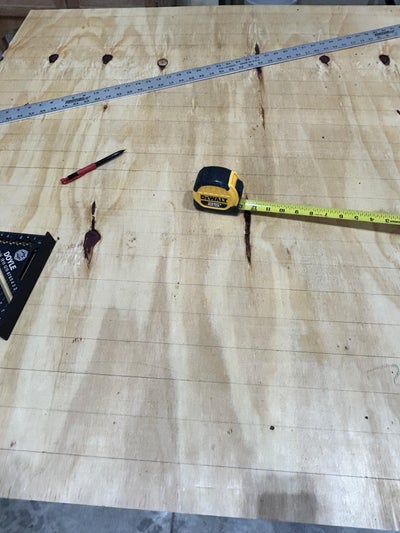
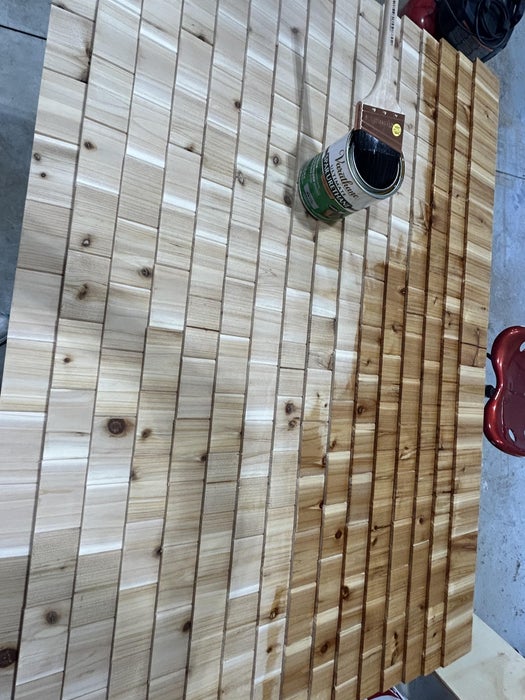
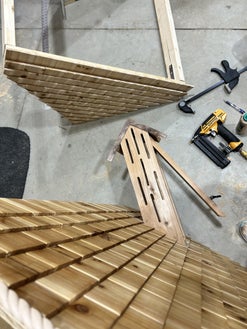
Instead of installing the butterfly house onto the roof before the shingles like I should have, I put the shingles on first. I used 1/4” X 3.5” X 8’ cedar v-plank boards (6 per package) and cut each into 4-in. lengths. Over 500 for the roof and 250 for each gable end. I thought my right arm might fall off. I used my 2” steel rule to mark placement lines. Starting with the bottom row I used my Brad nailer and 3/4” brads to secure the shingles. I would have preferred 1/2” brads as the 3/4” punctured through the other side. Not a big deal, but it bothered me. I worked my way up centering each next row on the one below, nailing along the upper edge of each shingle. The roof cannot be placed back up on the bottom edge after the first row of shingles goes on as they will break under the weight. I set it up on two saw horses.
Step 6: Poly Time
I applied two coats of poly.
Step 7: Doors and Windows
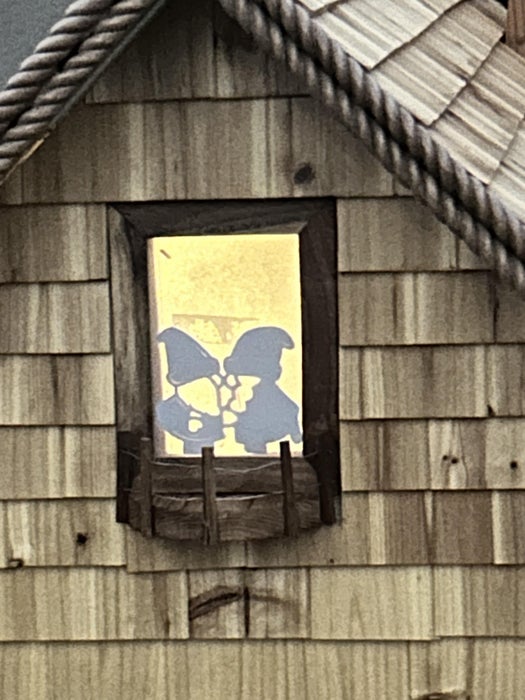
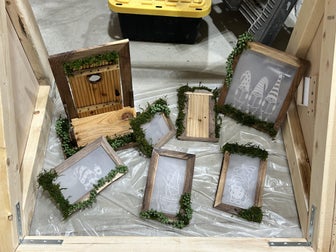
While the poly dried I went to work on the doors and windows. For the door I used two lengths of the cedar plank. I lowered the blade of my table saw to cut just barely into the surface of the wood. I moved my fence over slightly after each pass to make evenly spaced grooves. A hole saw made the little window in the door. Window “glass” was polycarbonate sheeting cut to size. I sanded both sides to the clear sheeting to give the glass a frosted look. Frames were built from walnut wood from a tree on our property. I used my Cricut again to cut out gnomes doing some of my friends’ favorite things and taped them to the back side of the window.
Step 8: Back to the Butterfly House
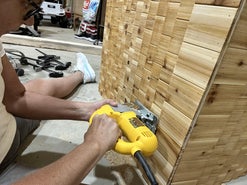
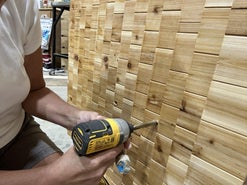
I’ve now realized that I should have installed the butterfly house before shingling… I was nervous as could be about how I was going to have to remedy my method. To avoid having to buy another six pack of shingles, I now had to drill a hole trough my roof then use my jigsaw to cut along my guide lines. I then made a larger bottom piece that screwed to the bottom of the roof and the butterfly house, keeping it in place.
