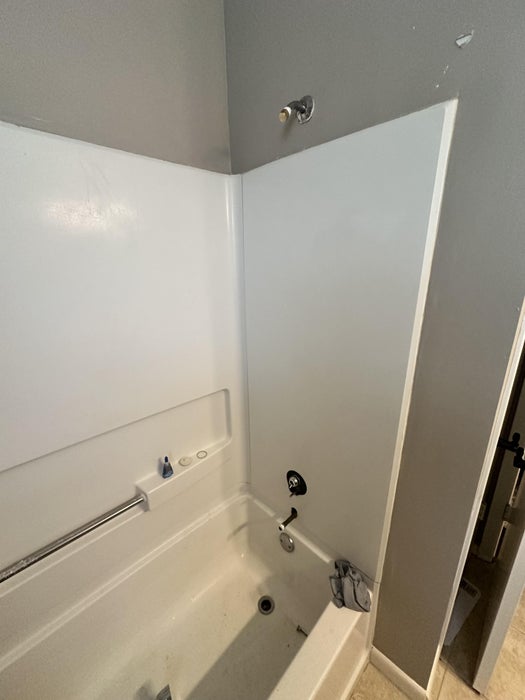
Step 1: Remove Old Fixtures
1. Turn off the water supply.
2. Remove the tub spout, shower handle, and trim.
3. Pull out the old showerhead arm.
4. Take out the escutcheon plate and expose the valve.
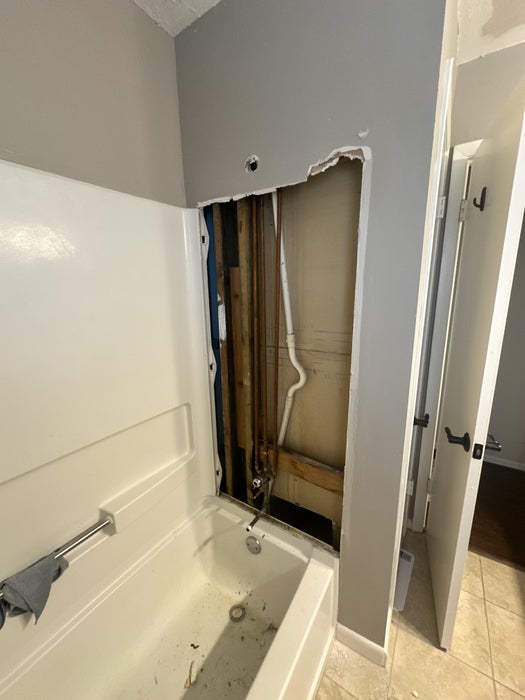
Step 2: Open the Wall
1. Cut away the fiberglass shower surround or drywall around the valve.
2. Use a reciprocating saw to carefully remove the surround if you’re converting to tile.
3. Expose the studs and plumbing.
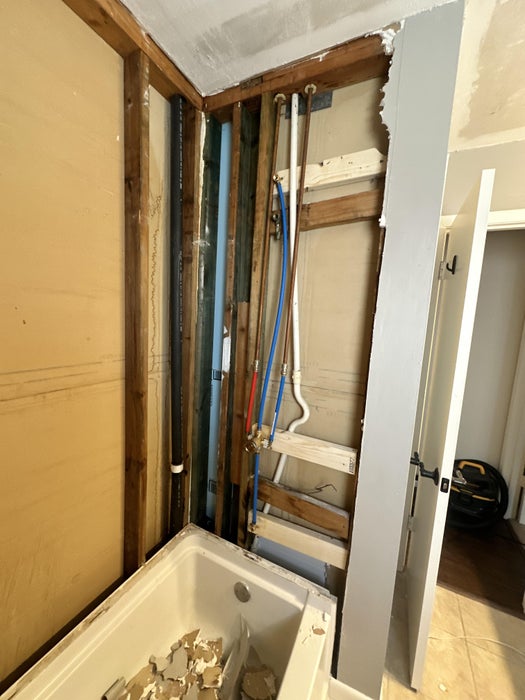
Step 3: Replace the Shower Valve
1. Remove the old valve by cutting the supply lines.
2. Install the new valve centered between studs and at the correct depth (the plaster guard face should be flush with finished wall).
3. Connect hot (red PEX) and cold (blue PEX) to the valve inlets.
4. Run PEX lines to the shower outlet and tub spout (if keeping tub). You need to use a larger PEX size for the tub spout so that tub stacking does not occur.
5. I used Sharkbite fittings to connect the copper to PEX and then used crimp rings to connect PEX to the drop ear for the shower and tub.
5. Secure everything with pipe straps.
6. Turn water on and test for leaks before closing the wall.
Step 4: Prep for Tile
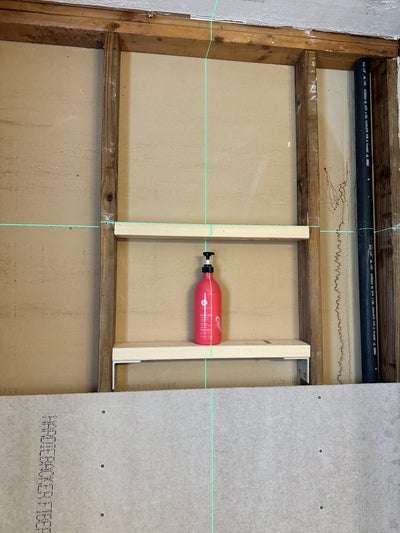
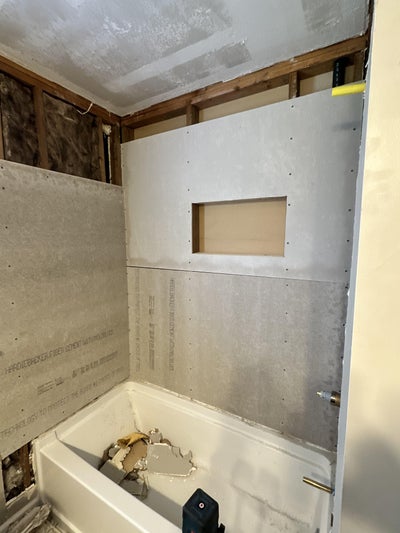
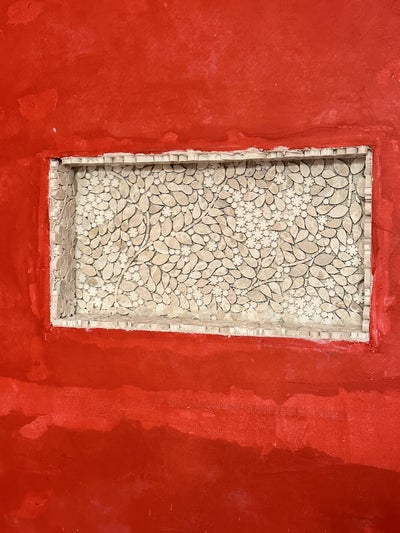
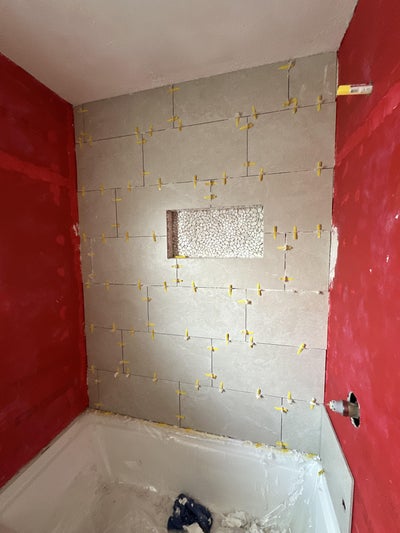
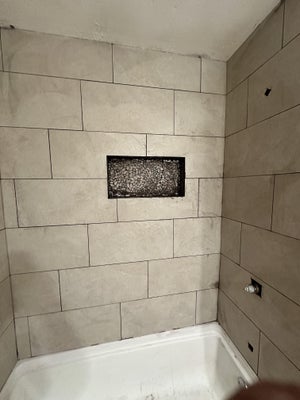
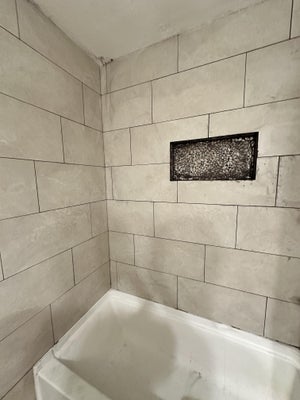
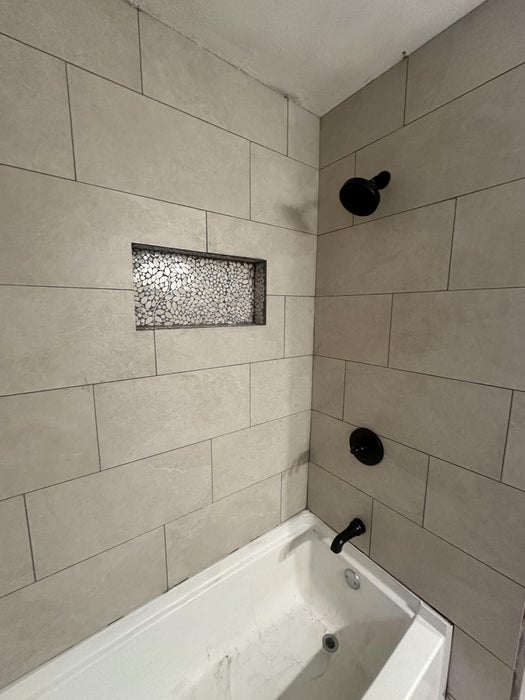
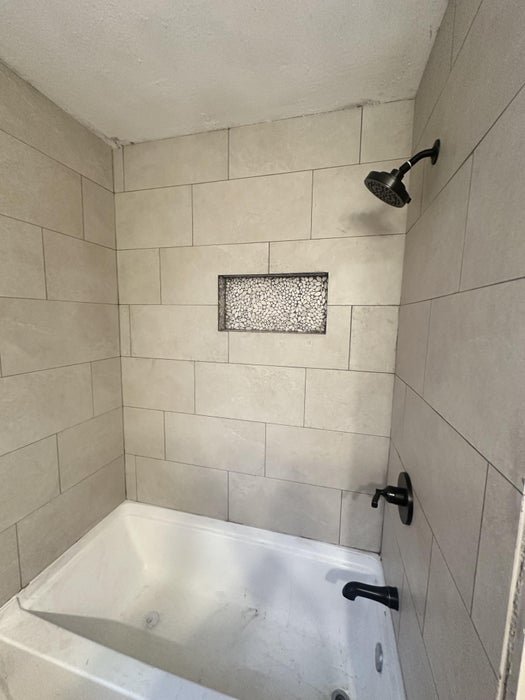
I wanted to add a shower cavity between the studs. This adds a lot of complexity to all of the steps so I would not recommend if you just want to finish the project as quickly as possible. Also note the shower cavity needs a decline angle so the water will eventually drain into the tub.
1. Frame in blocking where needed for support.
2. Install a tub lip flashing or waterproof backer where the tub meets the wall.
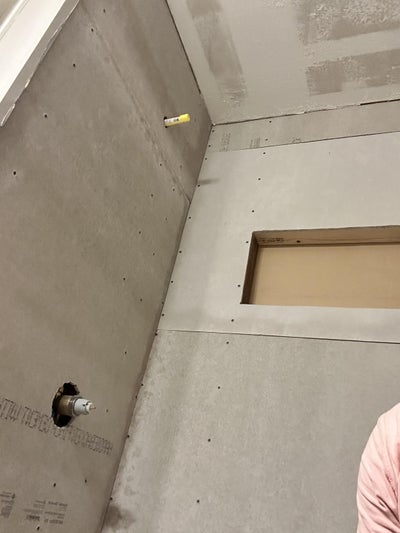
3. Screw cement backer board into studs, leaving a 1/8” gap between sheets. Use the laser level to get the screws in a straight line and space them about every 8″. (I needed to buy a special jigsaw tip to be able to cut the cement board).
4. Measure and cut the plumbing holes needed for the cement board. (The upper cement boards can be pretty heavy you may need two people to lift them)
5. Tape seams with alkali-resistant mesh tape and thinset. Let it dry according to manufacturer recommendations.
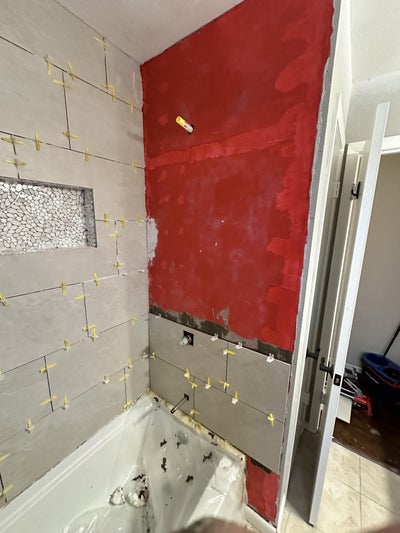
6. Apply waterproofing membrane over the backer board. Let dry to your manufacturers recommendation.
7. Map out where the tile will sit. I used Autodesk Inventor to visualize where I wanted to start tiling. I decided the bottom was better than aligning to the shower cavity and working my way outward.
8. Lay down plastic to protect the tub from any mortar or grout from falling.
Step 5: Tile Installation
1. Start with the first row above the tub lip, using a level line. If using 24″ tiles I would recommend using the 1/3 rule where you offset each tile 8″ as you go up in rows.
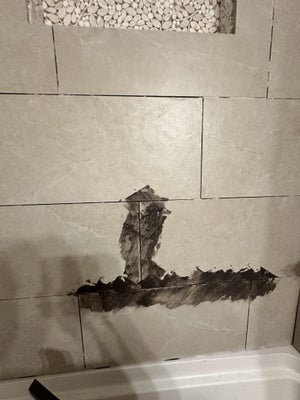
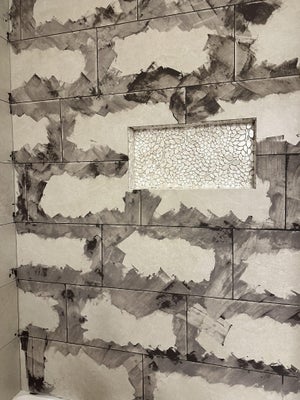
2. Spread thinset with a notched trowel and set tiles with spacers. (I highly recommend the self leveling spacers, they give you a very professional looking finish)
3. Work up the wall, cutting tiles as needed around the valve and showerhead.
4. Allow thinset to cure 24 hours.
Step 6: Grout and Finish
1. Mix and apply grout with a rubber float, pressing into joints.
2. Wipe off excess with a damp sponge.
3. Seal the grout once cured (unless using pre-sealed grout).
4. Reinstall trim kit, showerhead, and tub spout.
5. Apply silicone caulk at all changes of plane (corners, tub-to-tile joint).
Step 7: Enjoy Your New Shower
Now you’ve got a modern tiled shower with brand-new plumbing that should last for years.
